

During my last post, you were introduced to my beautiful new chairs. This post, I'll show you the progress I've made so far.
Prep work: Chair 1
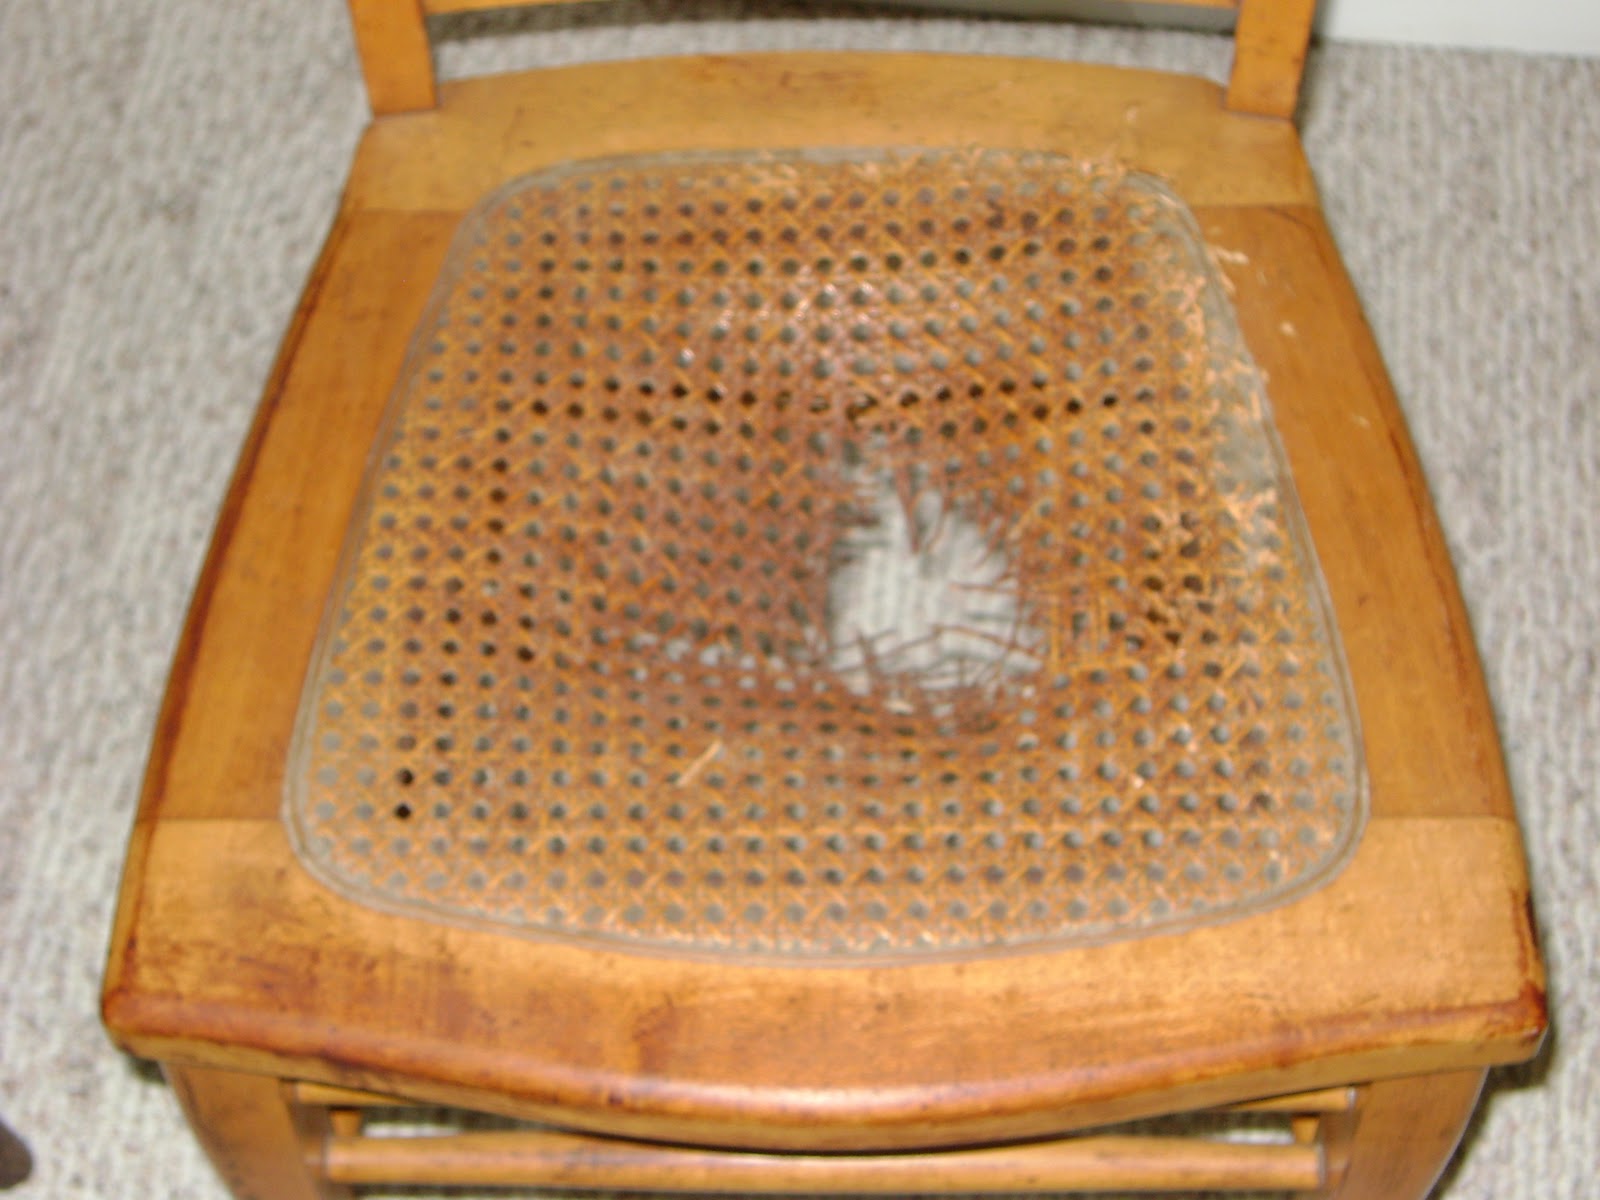
My first chair actually needed fairly little work. It was solid, fairly smooth, and hardly creaky at all.

However, as you can see the seat caining had busted right through. So my first step was to take a pliers and rip that seat right out of there.
Now, I know ripping isn't exactly the best way to get rid of these, but we're a little short on tools around our basement, so I use what I have :) That left me with a bunch of ragged edges around the seat though, which I then tackled with whatever sandpaper we had around.

The rest of the work, I did in Howell. For this chair, it involved just sanding off the finish with an electric sander.
Prep Work: Chair 2
The next chair, on the other hand, needed more than just a little work. It was creaky, cracked, and to be honest, I was a little afraid it might collapse any minute. We took it to Howell, where I could get help from a pro--Jared's dad, Jeff.

We began with the most basic issue--fixing the structure. This involved adding screws, replacing screws, gluing, and regluing rungs. This was fun, because for me it was a major learning experience. One of the most valuable things I learned to do was to reglue the loose rungs. And it was easy--we pounded them out with a rubber mallet, reglued it with some Gorilla Glue, and then clamped the chair together and moved on.
 |
| Fixed rungs |
With that fixed, the chair actually became pretty stable. All it took then were a couple new screws, and it was all set. Mostly. I was still pretty concerned by this cracked seat corner. Not only was it a gaping crack, but it was also kind of unstable.


Seats:
Now, just looking at these chairs, it's pretty easy to see what's wrong with them:

No seats! So the next obvious step is to make them some seats. For this, I had a couple options, some complicated, some not so much. But what I wanted (and still want) is a seat that is solid, snug, and can be removed easily, with hopes that the final product will be a cushioned seat that I can lift off and change fabrics at a whim for a new look. Jeff came up with the design we ended up using--a fiberboard seat that extends to within an inch of the edge of the frame. This seat is attached to a wood insert that fits into the frame hole, preventing the seat from sliding and adding weight to keep it tight.
I made a basic pattern for the seats using poster board, traced it onto the fiberboard, and then faced my greatest fear: the band saw. Ok, so it's not my greatest fear. It's just that everytime I think about an electric saw, I get images of severed fingers and hear echoes of those woodshop horror stories teachers like to tell students to scare them. But it ended up actually being pretty fun.
 |
| So brave... :) |
At the end of the weekend, this is what we ended up with:

Freshly glued, sanded, ready for painting, and now, including seats! The next step will be painting, and adding foam padding to the seats to make a basic cushion. Thanks for reading!
No comments:
Post a Comment